 EN
EN

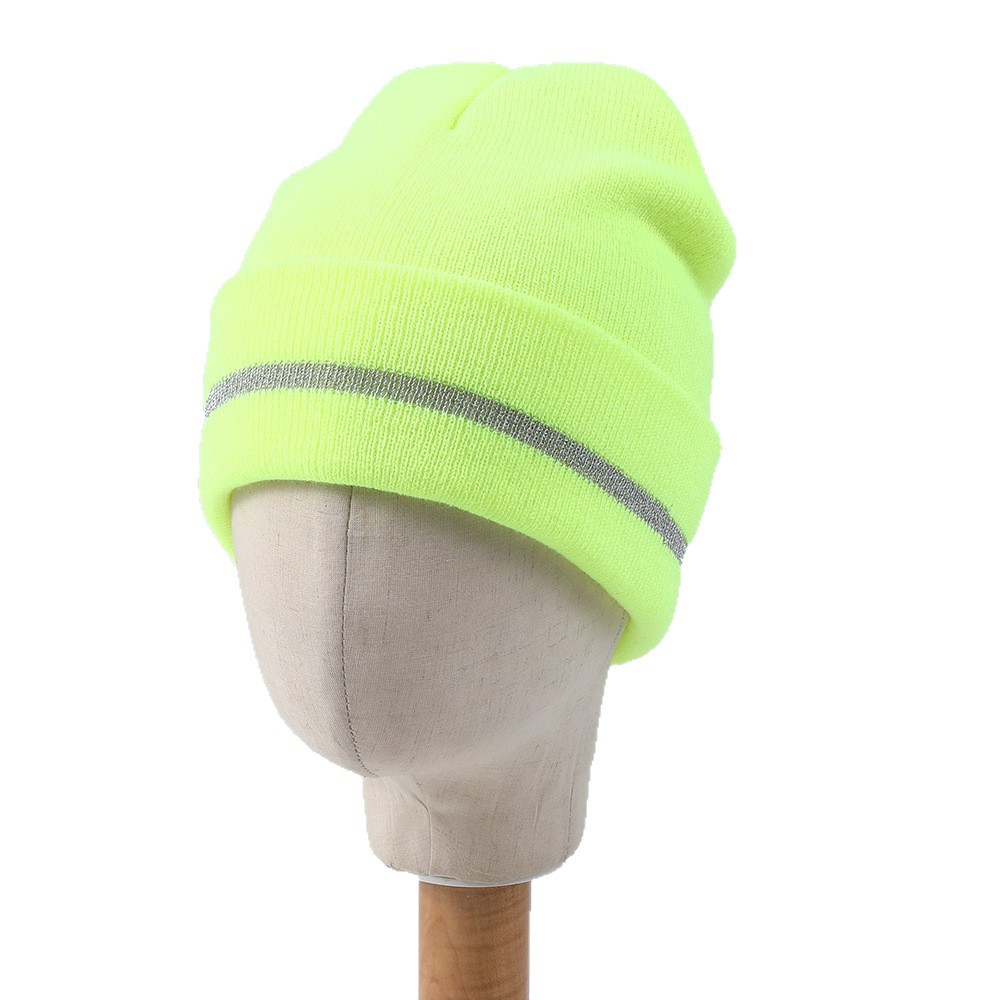
Om jou eie gebreide hoed is een van die mees belonende projekte vir beginners wat die wêreld van breiwerk betree. ’n Handgemaakte gebreide pet bied nie net warmte tydens koue seisoene nie, maar dien ook as ’n persoonlike uitdrukking van styl en kreatiwiteit. Of jy nou ’n eenvoudige beanie of ’n meer ingewikkelde ontwerp wil maak, die bemeester van die basiese beginsels van petbreiwerk open deure na tellose moontlikhede in jou kunsprojek.
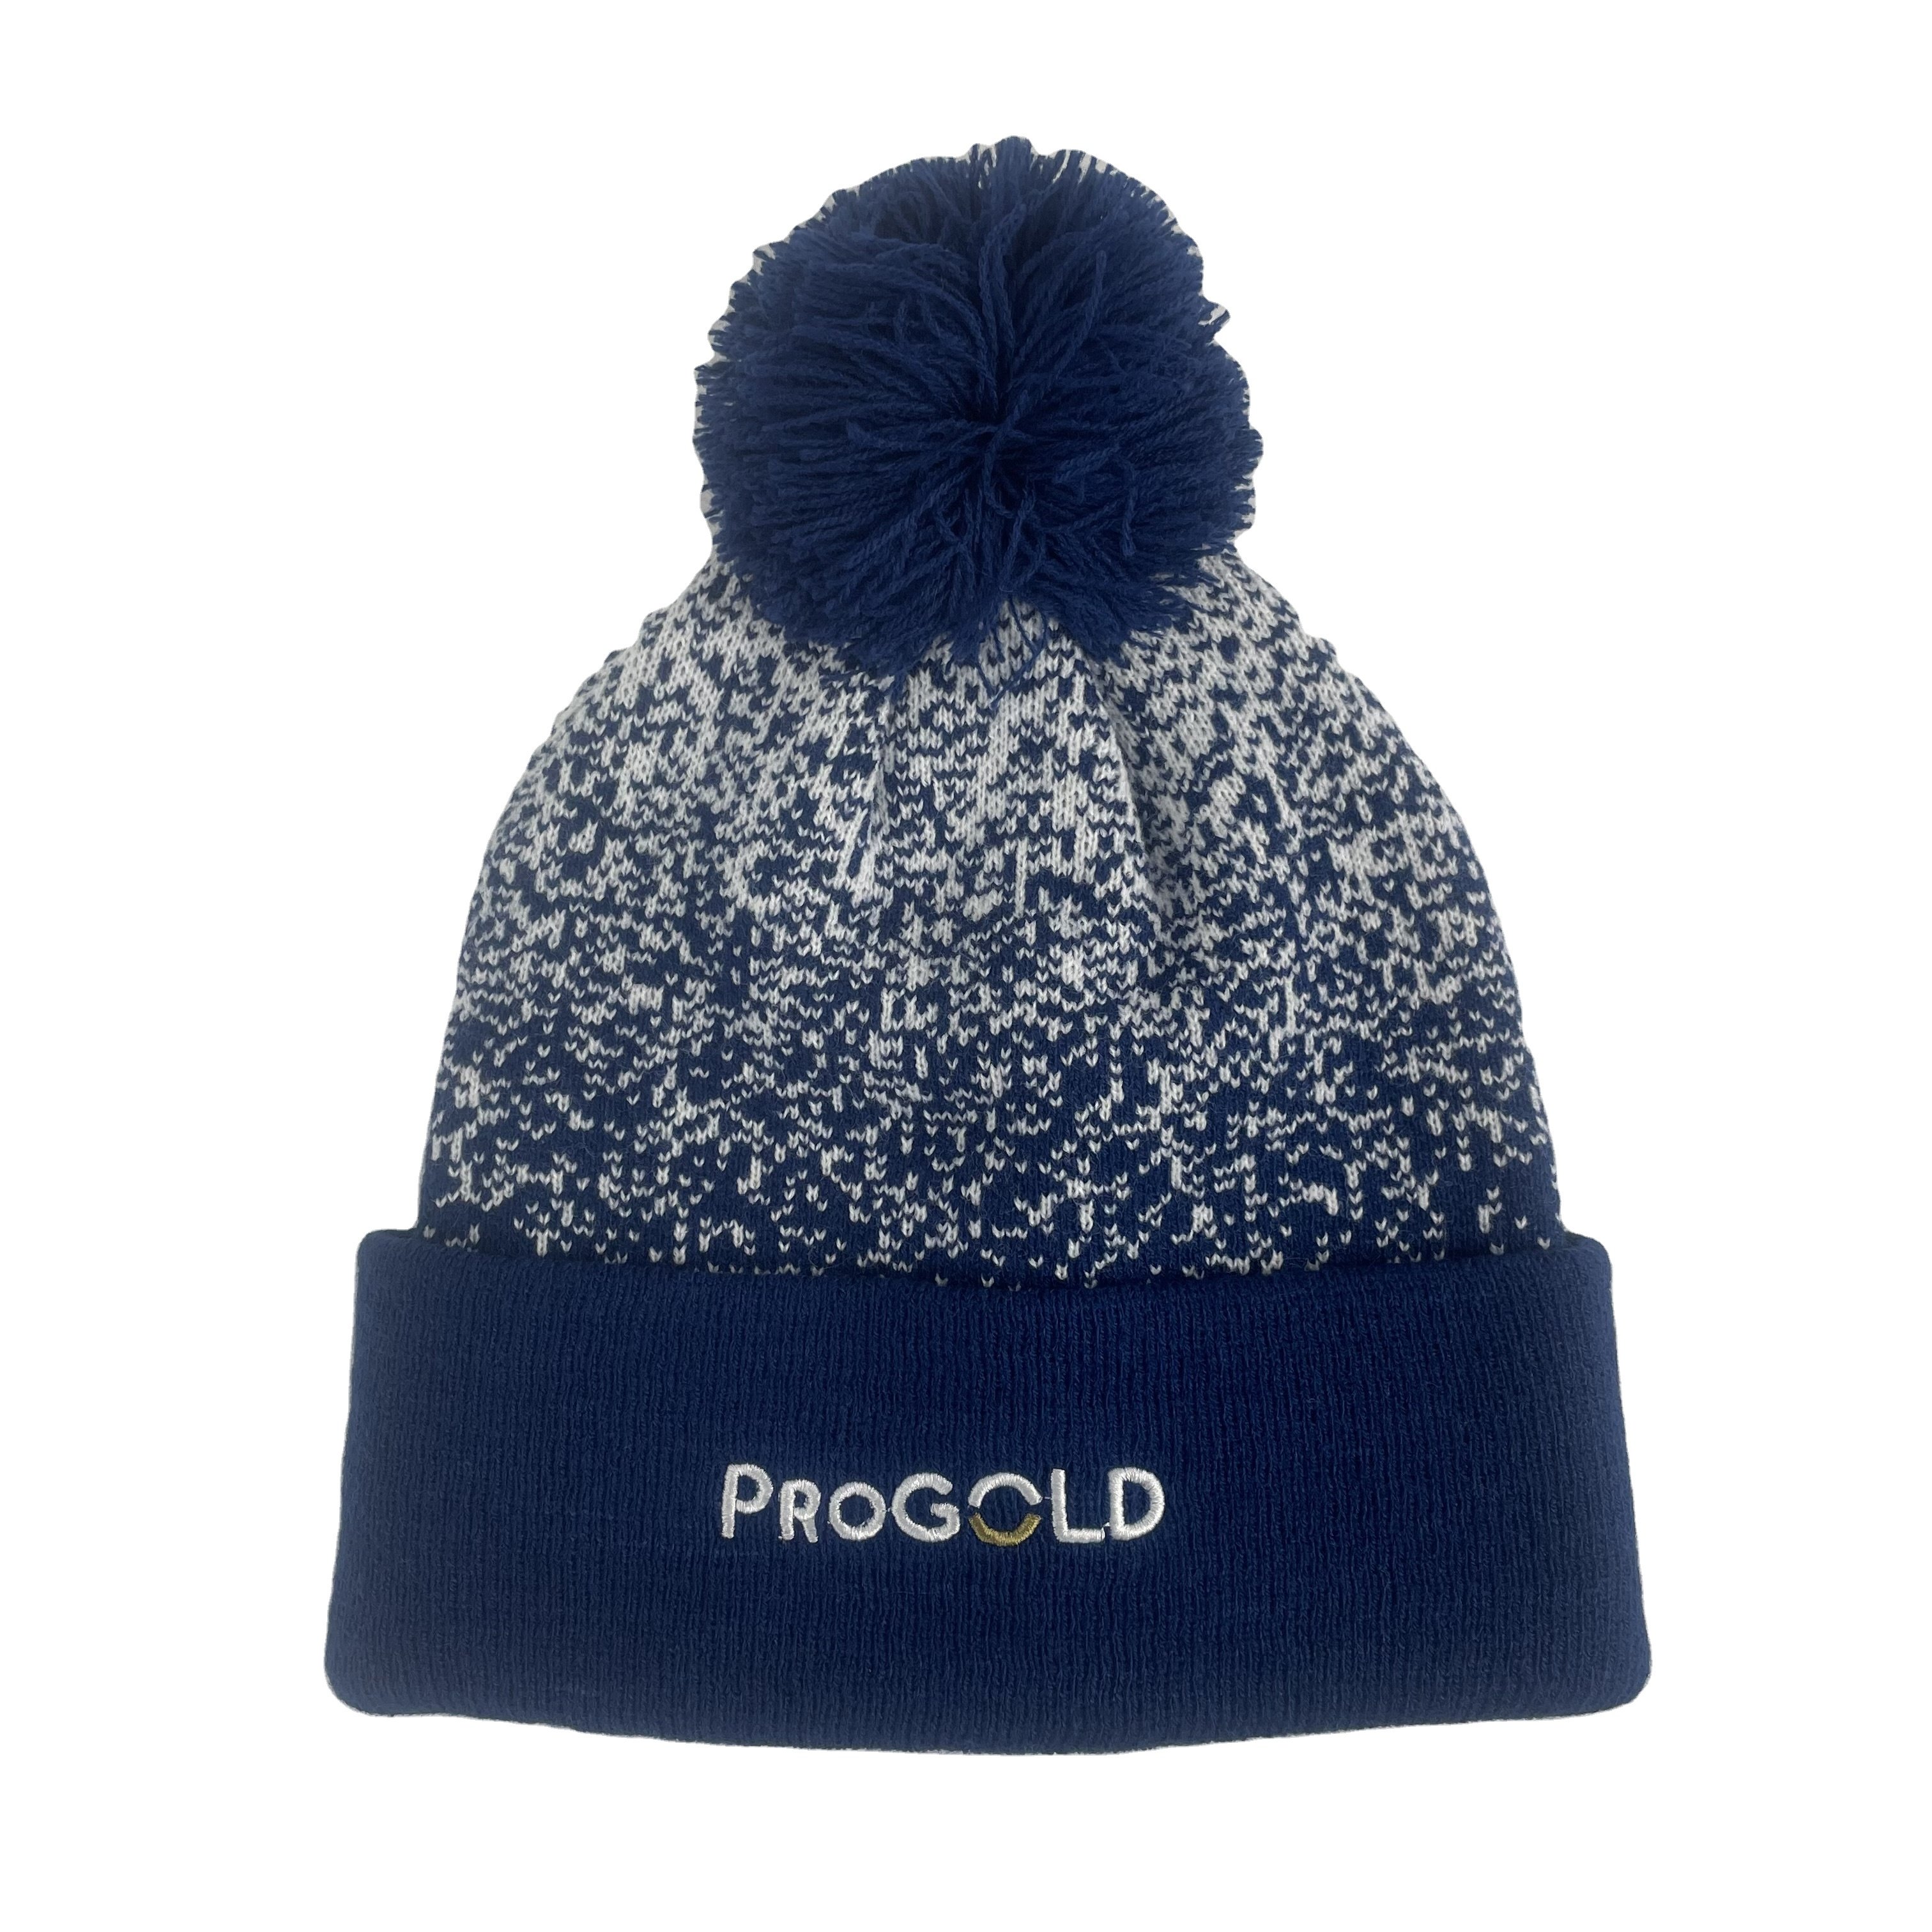
Die kuns van brei van mutse kombineer tradisionele tegnieke met moderne gerief, wat dit toeganklik maak vir handwerkers van alle vaardigheidsvlakke. Van die keuse van die regte garensdikte tot die begrip van maatbepalings, bou elke stap in die skep van ’n gebreide muts op fundamentele breiprinsipes. Die bevrediging om jou eerste selfgemaakte muts te voltooi ontsteek dikwels ’n leeftyd-lange passie vir brei, aangesien die praktiese aard van hierdie projek onmiddellike, draagbare resultate lewer.
Essensiële materiale en gereedskap vir jou gebreide-mutsprojek
Kies die regte garens vir optimale resultate
Die keuse van die gepaste gare vorm die fondament van enige suksesvolle gebreide-hoedprojek. Medium-gewig gare, wat as worsted-gewig of DK-gewig geklassifiseer word, verskaf uitstekende struktuur en warmte vir beginners. Natuurlike vesels soos wol bied uitstekende isolasie-eienskappe, terwyl sintetiese mengsels duurzaamheid en maklike versorgingsinstruksies bied. Oorweeg die bedoelde ontvanger en klimaat wanneer jy gare kies, aangesien hierdie faktore beide die gemak en leeftyd van jou voltooide gebreide hoed beïnvloed.
Kleurkeuse speel 'n noodsaaklike rol in die visuele aantreklikheid van jou gebreide-hoedontwerp. Eenvoudige kleure laat steekpatrone duideliker na vore tree, wat dit ideaal maak vir beginners wat nuwe tegnieke leer. Verskillende kleurgare skep visuele belangstelling sonder dat ingewikkelde kleurwerkvaardighede vereis word, terwyl neutrale tonele veeldoelige koördinasie met jou klere verseker. Koop effens meer gare as wat patrone aanbeveel om rekening te hou met maatverskille en moontlike wysigings tydens die brei-proses.
Oorwegings vir naaldkeuse en -grootte
Ronde naalde is die mees doeltreffend vir die brei van mutse, aangesien dit nadele vermy en natuurlik aan die buisvormige konstruksie aanpas. Kies naaldlengtes tussen sestien en twintig duim vir volwasse-mutse om gemaklike hantering gedurende die hele projek te verseker. Dubbelpunt-naalde word nodig vir die vermindering van die kroonafdelings, wat gewoonlik 'n stel van vier of vyf naalde in ooreenstemmende groottes met jou ronde naalde vereis.
Die materiaal waarvan die naalde gemaak is, beïnvloed beide die brei-ervaring en die steekkwaliteit van jou gebreide mutsprojek. Bamboenaalde verskaf warmte en greep, wat ideaal is vir glyerige gare of nuwe beginners wat onseker is. Metaalnaalde bied gladde steekbeweging en duurzaamheid vir gereelde breiwerk, terwyl uitruilbare stelsels veelsoortigheid bied vir verskillende projekgroottes. Pas die naaldgrootte aan die aanbevelings vir die gare se gewig aan, maar wees bereid om dit aan te pas gebaseer op jou persoonlike breitempo en die gewenste weefseldigtheid.
Begrip van Basiese Breihoedkonstruertegnieke
Opkastel en die Vestiging van U Grondslagronde
Die lang-stert-opkastelmetode skep ’n stewige, elastiese grondslag wat perfek is vir breihoedrande. Bereken die aantal opgekaste stelle volgens kopomtrekmetings, gewoonlik tussen tagtig en eenhonderd stelle vir volwasse groottes. Voeg ronde versigtig saam om te voorkom dat stelle draai, en merk die begin van die ronde met ’n verwyderbare stelmerker vir konsekwente volgtyding gedurende u breihoedkonstruksie.
Die vestiging van die regte spanning tydens opkastel voorkom dat rande óf te styf óf te los word, wat pasvorm en voorkoms benadeel. Oefen die lang-stertmetode op skraapgare voor u werklike projek begin, om konsekwente stelgrootte en ’n gerieflike werkspanning te verseker. Die grondslagronde stel die toon vir u hele breihoed, wat noukeurige aandag vir besonderhede noodsaak vir professionele resultate.
Skep Ribbels vir ’n Professionele Afwerking
Ribpatrone verskaf noodsaaklike uitrekbareheid en struktuur aan die rande van gebreide mutse, wat 'n gerieflike pasvorm oor verskillende kopgroottes verseker. Die basiese een-bi-een-rib wissel brei- en kantstokke af, wat vertikale kolomme skep wat natuurlik saamtrek en uitsit. Twee-bi-twee-ribpatrone bied 'n meer uitgesproke tekstuur terwyl dit uitstekende uitrekbareheid behou, wat dit geskik maak vir beide funksionele en dekoratiewe toepassings in jou gebreide mutsontwerp.
Die diepte van die ribpatroon wissel gewoonlik van een tot drie duim, afhangende van die gewenste styl en funksionaliteit. 'n Dieper ribpatroon laat toe vir vou- of slouch-effekte, terwyl 'n minimale ribpatroon skoon, pasvormige voorkomste skep. Handhaaf konstante spanning deur die ribpatroonafdelings om eweredige uitrekbareheid en professionele afwerking te verseker. Die oorgang van die ribpatroon na die hoofliggaamsafdelings moet naadloos voel, waar die steek telling behou word terwyl die breinaal grootte moontlik verander word vir verskillende weefdigtheidsvlakke.
Bemeester die hoofliggaamkonstruksie van jou gebreide muis
Werkende Breistokstek vir Gladde Liggaamseksies
Die breistokstek vorm die grondslag van die meeste gebreide hoedliggame, wat geskep word deur al die steke te brei wanneer in ronde werk word. Hierdie fundamentele tegniek produseer 'n gladde, eenvormige materiaal wat garekleure en -teksture pragtig beklemtoon. Behou konstante spanning deur die liggaamseksies om sigbare onreëlmatighede of los steke wat die algemene voorkoms van jou voltooide gebreide hoed benadeel, te voorkom.
Die liggaamlengte wissel volgens stylvoorkeure en kopmetings, gewoonlik van vier tot agt duim vanaf die ribbels na die kroonvorming. Meet jou vooruitgang gereeld teen die beoogde draer of gebruik standaardgroottekaarte vir riglyne. Oorweeg om eenvoudige stekpatroonvariasies soos saadstek of mosstek by te voeg vir tekstuurinteresse sonder om die kompleksiteit van jou gebreide hoedprojek aansienlik te verhoog.
Invoering van Eenvoudige Patroonelemente
Basiese kabelpatrone voeg gesofistikeerde tekstuur by breihoedontwerpe sonder om gevorderde vaardighede te vereis. Eenvoudige vier-streng-kabels skep elegante vertikale elemente, terwyl gedraaide steke subtiel tekstuurvariasies verskaf. Oefen patroonelemente op proefstukke voor jy dit in jou hoofprojek inkorporeer, om seker te maak dat jy gemaklik is met die tegnieke voordat jy aan die volledige geborduurde hoed konstruksieproses begin.
Kleurwerk-tegnieke soos eenvoudige strepe of Fair Isle-patrone skep visuele belangstelling in breihoedontwerpe. Begin met twee-kleurkombinasies om spanningbeheer en garebestuur te bemeester voordat jy meer komplekse patrone probeer. Kaartleesvaardighede ontwikkel natuurlik deur oefening, wat toelaat vir meer ambisieuse patroonwerk in toekomstige breihoedprojekte terwyl jy vertroue bou in jou breivaardighede.
Kroonvormingstegnieke vir professionele resultate
Begrip van verminderingsmetodes en -plasing
Kroonvorming vereis sistematiese steekvermindering om die afgeronde bopunt te skep wat kenmerkend is van goedpas gebreide mutse. Gewone verminderingmetodes sluit in twee saambrei en gly-gly-breikant, elk wat verskillende visuele effekte en rigtingskuiings skep. Beplan die posisie van vermindering om eweredig gespreide verminderingspunte te skep, gewoonlik met ses tot agt verminderingslyne vir gebalanseerde vorming deur die kroonafdeling.
Begin met vermindering wanneer die gebreide muis ongeveer twee duim minder as die gewenste finale lengte meet, om genoeg materiaal vir 'n gerieflike kroonpas te laat. Verminderrondtes wissel aanvanklik met eenvoudige rondtes, met toenemende frekwensie soos die kroon nouer word. Skakel oor na dubbelpuntbreinaalde wanneer die omtrek te klein word vir gerieflike sirkelbreinaaldhantering, terwyl konstante spanning gedurende die oorgang behou word.
Afronding van Kroonsluitingstegnieke
Daar bestaan verskeie metodes om die finale kroonopening in jou gebreide mutsprojek te toemaak. Die tradisionele metode behels om die oorblywende stelle op 'n breinaald te draai en dit styf toe te trek, wat 'n veilige sluiting skep. Alternatiewe benaderings sluit in die Kitchener-stel vir onsigbare seaming of dekoratiewe elemente soos kwassies of pompoms wat die oorblywende stelle op 'n kreatiewe manier insluit.
Die voltooiing van die kroon het 'n beduidende impak op die algehele voorkoms en duurzaamheid van jou gebreide muts. Maak seker dat die wolstert lank genoeg is vir 'n veilige inwerk- en voltooiingsproses, wat gewoonlik ten minste ses duim werkende wol vereis. Die kroonsluitingsmetode moet jou algehele ontwerpstyl aanvul terwyl dit ook voldoende sekuriteit bied vir gereelde dra- en wasgebruike.
Probleemoplossing van algemene konstruksieprobleme met gebreide mutse
Adresering van spanning- en maatprobleme
Die maatkonsekwentheid beïnvloed direk die pasvorm en voorkoms van jou voltooide breihoed, wat gereelde meting noodsaaklik maak gedurende die hele konstruksieproses. Brei maatmonsters met jou gekose gare en breinaaldevore die hoofprojek begin, en meet beide die steek- en ry-tellings per duim. Pas die naaldgroottes soos nodig aan om die patroonspesifikasies te bereik, en onthou dat individuele breistyle die maat beïnvloed, ongeag die vermelde gare- en naaldkombinasies.
Ongelyke spanning veroorsaak sigbare onreëlmatighede in die breihoe-dweef, veral opvallend in eenvoudige stokkienette-afdelings. Oefen die handhawing van konsekwente garespanning deur verskeie handposisies en garehou-tegnieke totdat spiersangheiligheid ontwikkel. Omgewingsfaktore soos vogtigheid en temperatuur kan die gedrag van die gare beïnvloed, wat klein spanningaanpassings tydens lang breisessies vereis vir optimale resultate.
Korrigerings van foute en laatvalsteke
Gedraaide steke verteenwoordig algemene voorkomste in die bou van gebreide mutse, veral wanneer daar tussen verskillende naaldtipes oorgaan word of wanneer komplekse patrone gebreier word. Leer om gedraaide steke vinnig te identifiseer deur gereelde steketelling en visuele materiaalinspeksie. Breihaakies bied doeltreffende werktuie om gedraaide steke op te tel, waarby elke ry een vir een van onder af herstel word om die korrekte steekvorming te herstel en die materiaalintegriteit te behou.
Patronfoute vereis dikwels gedeeltelike ontbreek om reggestel te word, wat noukeurige vooruitgangsmarking noodsaaklik maak vir doeltreffende foutkorrigering. Plaas lewenslyne deur jou breiwerk teen gereelde intervals om veilige punte te skep waar jy terug kan gaan sonder om beduidende vooruitgang te verloor. Om jou breiwerk te kan lees, stel jou in staat om patronfoute vinnig te identifiseer voordat hulle deur verskeie rye van jou gebreide mutskonstruksie versprei word.
Grootteaanpassings en aanpasbare opsies
Aanpassing van patrone vir verskillende kopgroottes
Standaard gebreide mutterpatrone pas gewoonlik by gemiddelde volwasse kopgroottes, wat gewoonlik wissel van een-en-twintig tot drie-en-twintig duim in omtrek. Pas die aantal steke proporsioneel aan vir kleiner of groter groottes, terwyl die patroonveelvoude behou word wanneer tekstuur-elemente ingevoeg word. Kindergroottes vereis beduidende wysigings in beide omtrek en lengte, wat dikwels verskillende gare-diktes of breinaaldgroottes benodig vir 'n toepaslike weefseldigtheid.
Bereken grootteaanpassings deur die kopomtrekmetings minus een tot twee duim te gebruik vir 'n gerieflike pasvorm met toepaslike uitrekbaarheid. Neem wysigings noukeurig neer vir toekomstige verwysing en patroonkonsekwentheid oor verskeie gebreide mutterprojekte heen. Oorweeg individuele voorkeure vir passtyl, aangesien sommige draers 'n styf-pasende ontwerp verkies terwyl ander 'n losser, slordiger voorkoms verkies wat verskillende konstruksiebenaderings vereis.
Voeg Persoonlike Styl-elemente by
Pasopsies vir aanpassing verander basiese breihoedpatrone in unieke persoonlike uitdrukkings. Eenvoudige byvoegings soos kontrasterende ribbelskleure of versierknoppies skep visuele belang sonder dat gevorderde tegnieke benodig word. Borduurwerk of duplikaatsteek-tegnieke laat toe vir persoonlikheid na voltooiing, wat gebreide hoede geskik maak vir geskenkdoeleindes of spesiale geleenthede wat aangepaste elemente vereis.
Oorweeg die ontvanger se leefstyl en voorkeure wanneer jy aanpassings vir jou gebreide hoedontwerp beplan. Aktiewe individue baat van veilige, minimale versierings, terwyl mode-georiënteerde draers dalk meer van ingewikkelde versierings of unieke konstruksiedetails sal geniet. Dokumenteer suksesvolle aanpassingstegnieke vir toekomstige projekte, om 'n persoonlike biblioteek van verkose wysigings en stylbenaderings op te bou.
Sorg en onderhoud van jou voltooide gebreide hoed
Tegnieke vir Goed Was en Droog
Handgemaakte gebreide muts vereis sagte versorging om vorm, tekstuur en langdurigheid tydens gereelde gebruik te behou. Handwas in koel water met wol-spesifieke wasmiddels bewaar die natuurlike vesieleienskappe terwyl opgeboude olies en rommel verwyder word. Vermy die uitwring van of aggressiewe hantering tydens was; druk eerder die oorskietwater sag uit en ondersteun die muts se natuurlike vorm gedurende die skoonmaakproses.
Droogmetodes het 'n beduidende impak op die finale voorkoms en pasvorm van jou gebreide muts na was. Lê dit plat op absorberende handdoeke weg van direkte hittebronne, en vorm dit sag terug na sy oorspronklike afmetings terwyl dit nog vogtig is. Vermy om nat gebreide mutse op te hang, aangesien die gewig van die water die materiaal permanent kan uitrek en vervorm. Masjienwas kan geskik wees vir sintetiese veselgemengsels, maar kyk altyd na die gareetikette vir spesifieke versorgingsinstruksies.
Bergoplossings vir langtermynbewaring
Behoorlike berging voorkom motbeskadiging, vormvervorming en kleurverbleiking in jou voltooide breihoedversameling. Maak items grondig skoon voor berging deur enige kosdeeltjies of liggaamsolie te verwyder wat insekte aantrek. Cedertoue of laventelsakkies bied natuurlike motafweringsmiddels sonder chemiese behandelings wat sensitiewe vesels kan beïnvloed of allergiese reaksies by toekomstige draers kan veroorsaak.
Berg breihoede plat of los gevou eerder as om hulle in styf ingeperste ruimtes te druk wat permanente voue of vormvervorming veroorsaak. Asemende bergbehouders soos katoen sakke of suurvrye bokse beskerm teen stof terwyl dit lugstroming toelaat. Vermy plastiek sakke vir langtermynberging, aangesien vasgevangte vog moddergroei kan bevorder of sintetiese vesels met tyd bros kan maak.
VEE
Hoe lank neem dit om ’n basiese breihoed vir beginners te voltooi?
'n Basiese gebreide muts vereis gewoonlik tien tot twintig uur aktiewe brei-tyd vir beginners, versprei oor verskeie dae of weke, afhangende van beskikbare tyd vir kunsprojekte. Faktore wat die voltooiingstyd beïnvloed, sluit in die individu se breispoed, patroon-kompleksiteit en ervaringvlak met basiese tegnieke. Die meeste beginners voltooi hul eerste gebreide muts binne twee tot vier weke van ontspanne aandbreisessies.
Watter gare-dikte werk die beste vir eerste-keer gebreide mutsprojekte?
Medium-gewiggare wat as worsted-gewig of DK-gewig geklassifiseer word, bied 'n optimale ewewig tussen maklike hantering en finale weefselkwaliteit vir beginners wat gebreide mutse maak. Hierdie gewigte bied duidelike steekdefinisie vir die leer van nuwe tegnieke terwyl dit ook vinnig genoeg gebrei word om motivering gedurende die hele projek te handhaaf. Vermy baie fyn of baie dik gare totdat basiese vaardighede goed vasgelê en gerieflik is.
Kan gebreide mutspatrone aangepas word vir verskillende seisoene?
Ja, breihoedpatrone pas maklik aan by seisoenale vereistes deur draadkeuse en konstruksiemodifikasies. Somerversione gebruik ligte katoen- of linne-draad met ’n losser telling vir lugdigheid, terwyl winterontwerpe wolgemengsels en ’n stywer konstruksie vir maksimum warmte insluit. Pas die diepte van die ribbings en die algehele lengte aan volgens die beoogde draagstyl en seisoenale modvoorkeure.
Wat moet ek doen as my gebreide hoed te klein of groot uitkom?
Grootteprobleme in voltooide gebreide hoede word dikwels veroorsaak deur verskille in telling of meetfoute tydens konstruksie. Hoede wat te klein is, kan sagweg geblok word om ’n beperkte addisionele grootte te verkry, terwyl te groot hoede soms deur ’n versigtige warmwaterbehandeling vir wol-draad gekrimp kan word. Voorkoming deur akkurate tellingproewe en gereelde meetkontroles tydens konstruksie is meer betroubaar as korreksies na voltooiing.
Tabel van inhoud
- Essensiële materiale en gereedskap vir jou gebreide-mutsprojek
- Begrip van Basiese Breihoedkonstruertegnieke
- Bemeester die hoofliggaamkonstruksie van jou gebreide muis
- Kroonvormingstegnieke vir professionele resultate
- Probleemoplossing van algemene konstruksieprobleme met gebreide mutse
- Grootteaanpassings en aanpasbare opsies
- Sorg en onderhoud van jou voltooide gebreide hoed
- VEE