 EN
EN

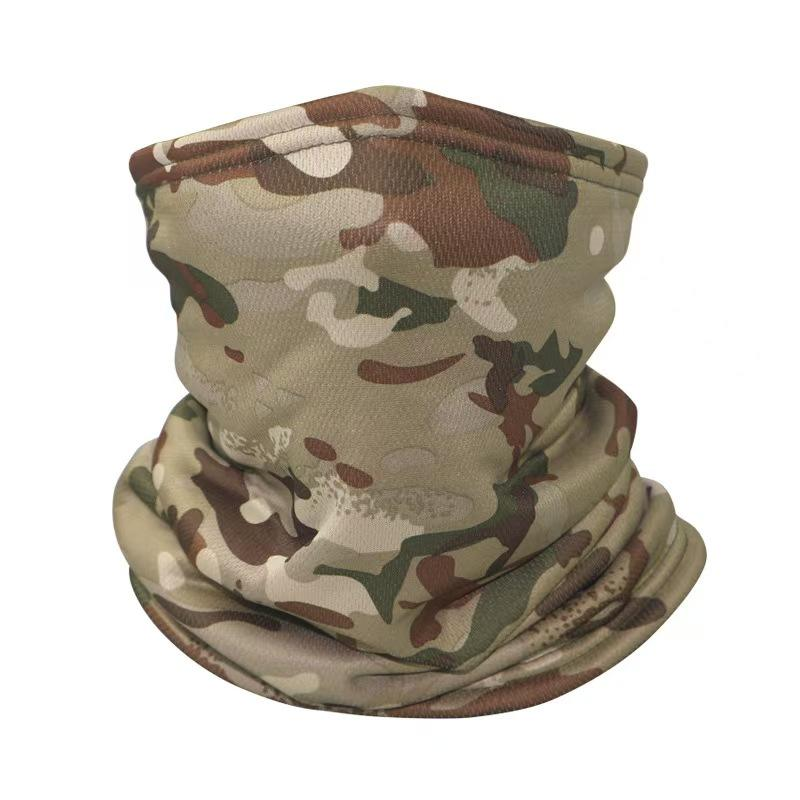
Creating your own neck warmer through knitting is one of the most rewarding and practical crafting projects for beginners. A handmade neck warmer provides exceptional warmth during cold weather while allowing you to express your personal style through color choices and pattern variations. Whether you're new to knitting or looking to expand your skills, crafting a neck warmer offers the perfect combination of simplicity and functionality that makes it an ideal first project.
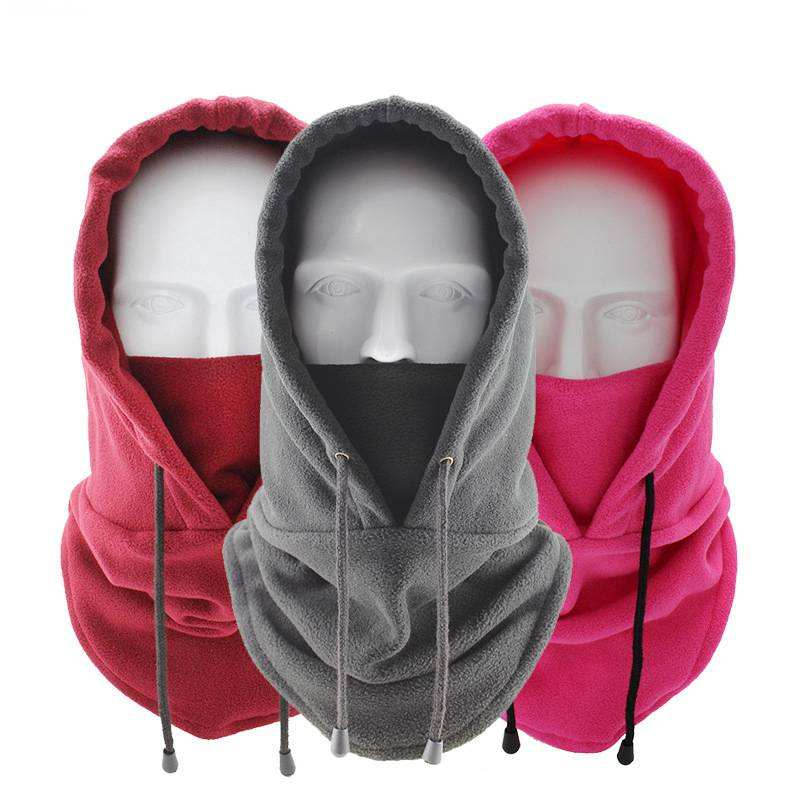
The beauty of knitting your own neck warmer lies in the complete control you have over materials, dimensions, and design elements. Unlike store-bought alternatives, a DIY neck warmer can be customized to match your exact preferences for thickness, length, and color scheme. This personalization ensures that your finished neck warmer will provide optimal comfort and style that perfectly complements your winter wardrobe.
Essential Materials and Tools for Your Neck Warmer Project
Selecting the Right Yarn for Your Neck Warmer
Choosing appropriate yarn is crucial for creating a neck warmer that provides both comfort and durability. Medium-weight worsted yarn offers excellent warmth retention while remaining soft against sensitive neck skin. Wool blends provide natural insulation properties that make them ideal for neck warmer construction, while acrylic yarns offer affordability and easy maintenance for beginners who want to practice their techniques.
Consider yarn texture when planning your neck warmer design, as smoother yarns create defined stitch patterns while textured yarns can hide minor imperfections that commonly occur in beginner projects. The amount of yarn needed for a standard neck warmer typically ranges from 200 to 300 yards, depending on your desired length and width specifications.
Necessary Knitting Tools and Accessories
Basic knitting needles in size 8 or 10 work well for most neck warmer patterns, providing the right balance between stitch definition and knitting speed. Circular needles offer advantages for seamless neck warmer construction, eliminating the need for complex seaming techniques that can challenge beginning knitters.
Additional tools that enhance your neck warmer knitting experience include stitch markers for tracking pattern repeats, a tapestry needle for weaving in yarn ends, and small scissors for cutting yarn cleanly. A row counter helps maintain accuracy in pattern repetition, ensuring your finished neck warmer maintains consistent dimensions throughout the construction process.
Basic Knitting Techniques for Neck Warmer Construction
Fundamental Stitches Every Neck Warmer Knitter Should Master
The knit stitch forms the foundation of most neck warmer patterns and creates a smooth, versatile fabric that drapes beautifully around the neck area. Mastering the knit stitch allows you to create garter stitch patterns that produce a stretchy, warm fabric perfect for neck warmer applications. Practice maintaining consistent tension while knitting to ensure your neck warmer has uniform appearance and proper fit characteristics.
The purl stitch complements knit stitches to create stockinette stitch patterns that produce smooth, flat surfaces ideal for showcasing intricate color work or textural elements in your neck warmer design. Combining knit and purl stitches in various sequences creates ribbing patterns that add elasticity and visual interest to neck warmer edges and body sections.
Creating Consistent Gauge for Professional Results
Achieving proper gauge ensures your neck warmer will fit correctly and maintain its intended proportions after completion. Create a gauge swatch using your chosen yarn and needles, measuring both stitch count per inch and row count per inch to match pattern specifications. Adjusting needle size up or down allows you to achieve correct gauge measurements for optimal neck warmer fit.
Consistent tension throughout your knitting process prevents your neck warmer from having loose or tight sections that affect both appearance and functionality. Regular gauge checking during construction helps identify tension variations early, allowing you to make adjustments before completing large sections of your neck warmer project.
Simple Neck Warmer Patterns for Beginning Knitters
Classic Garter Stitch Neck Warmer Design
The garter stitch neck warmer represents the most accessible pattern for absolute beginners, requiring only knowledge of the basic knit stitch throughout the entire construction process. This pattern creates a thick, warm fabric with natural stretch that makes it comfortable to wear while providing excellent insulation properties. Cast on 30 to 40 stitches depending on your desired width, then knit every row until your piece measures approximately 50 inches in length.
The reversible nature of garter stitch makes this neck warmer particularly practical, as both sides present identical appearance and texture. Seaming the ends creates a continuous loop that can be worn in multiple configurations, from a simple neck covering to a doubled layer for extra warmth during extremely cold conditions.
Basic Ribbed Neck Warmer Pattern
Ribbed patterns combine knit and purl stitches to create textured surfaces with enhanced stretch characteristics that make them ideal for neck warmer applications. A simple 2x2 ribbing pattern alternates two knit stitches with two purl stitches across each row, creating vertical columns that add visual interest while maintaining excellent stretch recovery properties.
This ribbed neck warmer pattern requires casting on a multiple of four stitches plus two additional stitches for edge definition. The resulting fabric hugs the neck comfortably while providing room for easy movement and adjustment throughout wear. Ribbing patterns also tend to use less yarn than solid stitch patterns, making them economical choices for budget-conscious crafters.
Advanced Techniques to Enhance Your Neck Warmer
Incorporating Color Work and Stripes
Adding color variations transforms a basic neck warmer into a striking accessory that showcases your developing knitting skills. Simple stripe patterns require changing yarn colors at regular intervals, creating horizontal bands that add visual impact without requiring complex technique mastery. Plan your stripe sequence before beginning to ensure adequate yarn quantities in each chosen color.
Fair Isle colorwork techniques allow for more intricate pattern development in your neck warmer design, though these methods require careful attention to tension management and color dominance principles. Start with simple two-color patterns that repeat frequently to build confidence before attempting more complex colorwork designs in your neck warmer projects.
Adding Texture Through Stitch Pattern Variations
Cable patterns create dimensional texture that adds sophisticated appearance to neck warmer designs while providing extra thickness for enhanced warmth retention. Basic cable crosses require only slight modifications to your knitting routine, involving the temporary holding of stitches while working adjacent stitches in different orders to create twisted rope effects.
Seed stitch patterns alternate knit and purl stitches in checkerboard arrangements that create subtle texture variations perfect for neck warmer applications. This stitch pattern lies flat while providing interesting surface texture that catches light beautifully, making your finished neck warmer appear more complex than the actual technique difficulty level suggests.
Finishing Techniques for Professional Neck Warmer Results
Proper Seaming Methods for Durable Construction
Creating invisible seams ensures your neck warmer maintains smooth, comfortable contact with skin while providing structural integrity that withstands regular use and washing. The mattress stitch technique creates nearly invisible seams by connecting corresponding stitches from each edge, resulting in joins that appear continuous with the main fabric structure.
Backstitch seaming provides stronger construction for neck warmer projects that will receive heavy use or frequent washing. This technique creates slight bulk at seam locations but offers superior durability that prevents separation under stress. Consider your intended use patterns when selecting appropriate seaming techniques for your neck warmer construction.
Blocking and Care Instructions
Proper blocking transforms your completed neck warmer from a slightly irregular handknit item into a polished, professional-appearing accessory. Wet blocking involves soaking your finished neck warmer in lukewarm water, then shaping it to desired dimensions while drying flat on towels or blocking mats.
Steam blocking offers faster results for acrylic yarns that don't respond well to wet blocking techniques. Hold a steam iron several inches above your neck warmer surface, allowing moisture penetration without direct heat contact that could damage synthetic fibers. Pin your neck warmer to desired measurements during the blocking process to ensure consistent finished dimensions.
Troubleshooting Common Neck Warmer Knitting Issues
Fixing Dropped Stitches and Tension Problems
Dropped stitches create holes in your neck warmer fabric that compromise both appearance and warmth retention capabilities. Learning to pick up dropped stitches using a crochet hook prevents the need to unravel large sections of completed work. Work carefully to maintain proper stitch orientation while repairing dropped stitches in your neck warmer project.
Tension variations create uneven fabric texture that affects your neck warmer's appearance and fit characteristics. Consistent hand positioning and yarn management help maintain uniform tension throughout your knitting process. Practice tension control during gauge swatching to develop muscle memory that translates into more consistent results during actual neck warmer construction.
Adjusting Dimensions for Perfect Fit
A properly fitted neck warmer should provide comfortable coverage without being too tight or restrictive during wear. Measure your neck circumference and add 2-4 inches for comfortable overlap when planning your neck warmer dimensions. Consider that knitted fabrics typically have some stretch that accommodates minor measurement variations.
Length adjustments allow customization of your neck warmer for different styling preferences, from snug collar-style coverage to longer versions that can be wrapped multiple times around the neck. Test fit your neck warmer during construction to ensure satisfaction with developing dimensions before completing the entire project length.
FAQ
How long does it take to knit a basic neck warmer
A simple garter stitch neck warmer typically requires 8-15 hours of knitting time for beginning knitters, spread across several days or weeks depending on your available crafting schedule. More complex patterns with colorwork or cable details may extend construction time to 20-30 hours. Your knitting speed will improve with practice, reducing completion times for future neck warmer projects.
What yarn weight works best for neck warmer projects
Worsted weight yarn (weight category 4) provides the ideal balance of warmth, durability, and ease of handling for most neck warmer applications. This yarn weight knits up quickly while providing substantial fabric thickness that offers excellent insulation properties. Chunky weight yarns create faster completion times but may produce overly bulky results for some neck warmer styles.
Can I make a neck warmer without circular needles
Straight knitting needles work perfectly for neck warmer construction, requiring only basic seaming techniques to join the ends into a continuous loop. Many knitters prefer straight needles for their first neck warmer projects because they feel more familiar and manageable than circular needles. The seaming process adds minimal time to your project while allowing complete control over fit adjustments.
How do I prevent my neck warmer from curling at the edges
Stockinette stitch patterns naturally curl at edges due to differences in stitch structure between knit and purl sides. Adding garter stitch borders or ribbed edges prevents curling while creating attractive finishing details. Blocking your completed neck warmer also helps set the fabric structure to minimize curling tendencies in the finished accessory.
Table of Contents
- Essential Materials and Tools for Your Neck Warmer Project
- Basic Knitting Techniques for Neck Warmer Construction
- Simple Neck Warmer Patterns for Beginning Knitters
- Advanced Techniques to Enhance Your Neck Warmer
- Finishing Techniques for Professional Neck Warmer Results
- Troubleshooting Common Neck Warmer Knitting Issues
- FAQ